Using the AcroPlot Matrix Custom PDF Stamp Creation Tool
AcroPlot Matix includes a tool for creating custom stamps and stamp templates. There are additional functions to simplify adding dynamic fields that automatically append a stamp with usernames, dates, checkboxes, etc.
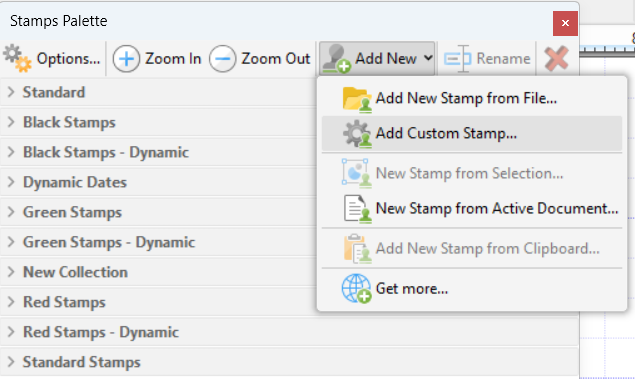
1. To launch the AcroPlot Matrix Stamp Creation tool go to:
Tools > Commenting and Markup Tools > Stamps Palette
and select the Add New pulldown and then choose the Add Custom Stamp… option.
2. The Custom Stamps tool provides four ways to create stamps:
a. Using the drawing tools found down the left side of the window.
b. Pasting in objects from the main part of the AcroPlot Matrix application.
c. Importing a graphic image file. Add > From File…
d. Utilizing a previously created stamp template. Add > From Template…
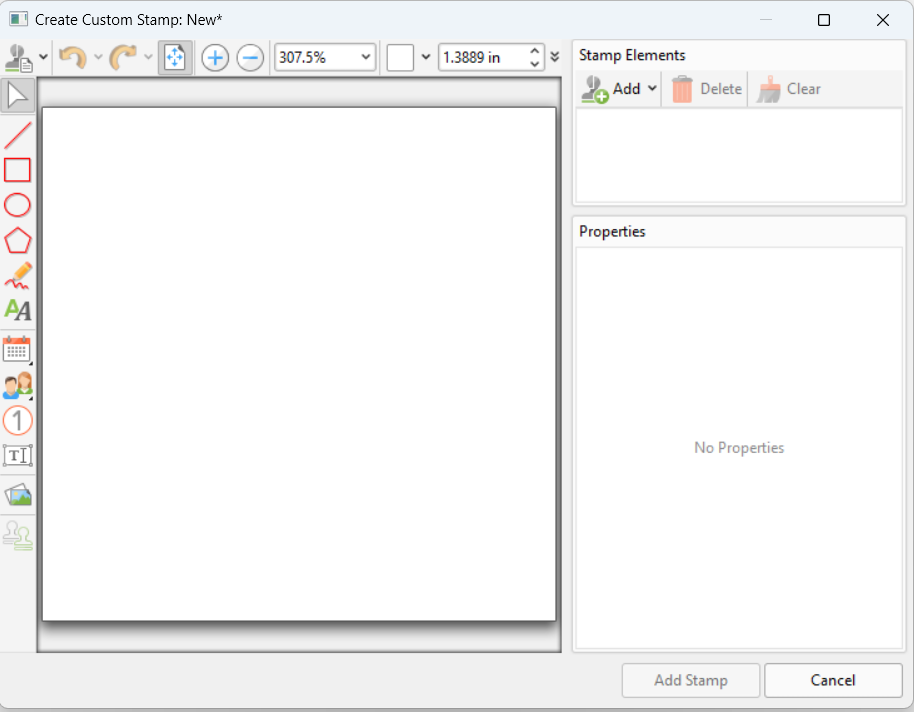
3. Using the drawing tools along the left side of the window a stamp can quickly be created. Be sure to adjust the canvas size to be slightly larger than the actual size of the stamp first. For example, the canvas size is updated to 4” x 2”.

4. Next pasted in the stamp created from section I.
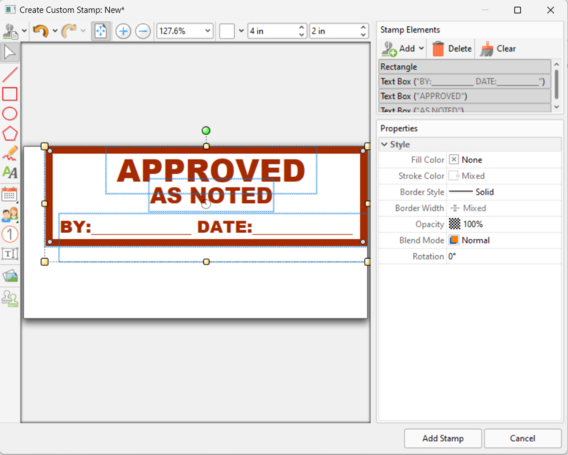
5. The stamp can either be repositioned on the canvas or the Crop White Margins (Ctrl+Shift+T) can be selected.
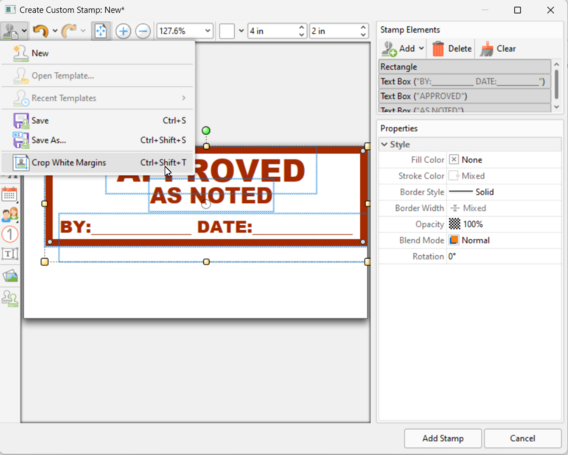
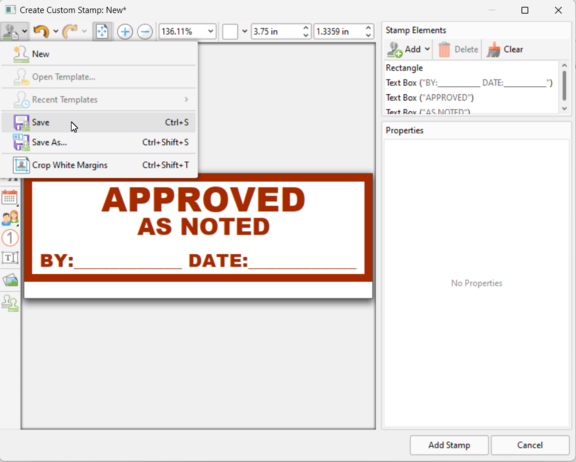
6. Save the stamp.
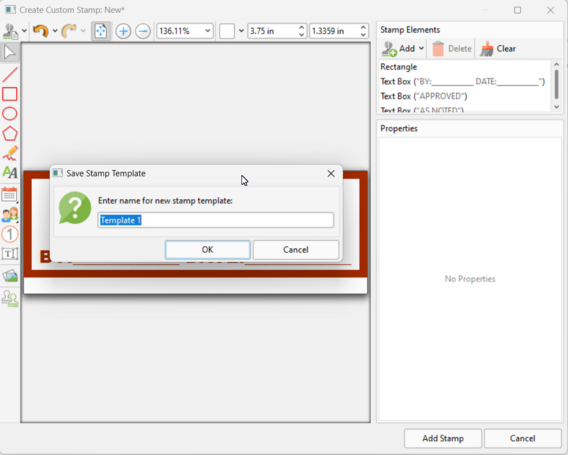
7. Either accept or update the name of the stamp template file.
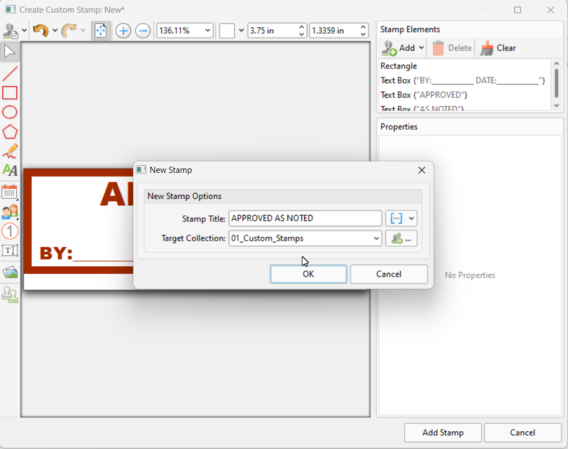
8. After the stamp is saved to a template, select the “Add Stamp” button at the bottom right of the window to apply a title and create a new collection set in the Stamps Palette.
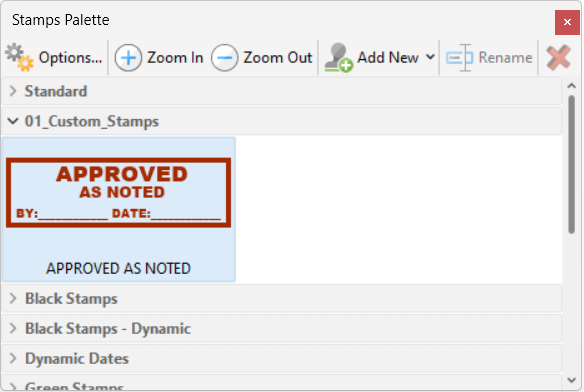
9. The stamp collection will be created with a new stamp added. More stamps can be created and added to the same collection. Creating stamp collections with custom stamps are stored locally within the current user account profile:
C:\Users\[Your-User-Name]\AppData\Roaming\CADzation\AcroPlotMatrix\Stamps
To share/distribute custom stamp collections to other users copy the respective PDF to:
C:\Program Files (x86)\AcroPlot\Stamps\ENU
AcroPlot Matrix will automatically load the custom stamp collection when launched.
