Creating and Importing PDF Stamps into the AcroPlot Matrix Program
Creating stamps can be accomplished using various methods, including graphic editing programs, CADD applications, and scanned images. AcroPlot Matrix will accept the following file types for import as a stamp:
PDF, BMP, GIF, ICO, PBM, PGM, PPM, JBIG, JBIG2, JPEG, WBMP, JNG, PCX, DCX, TGA, DNG, and TIFF.
Each file type has its own characteristics and properties for file size, speed of use, transparency, and appearance.
Please use whichever format works best for your needs.
The example below demonstrates how to create a stamp using the AcroPlot Matrix application and to create a PDF file for import into the AcroPlot Matrix Stamps Palette.
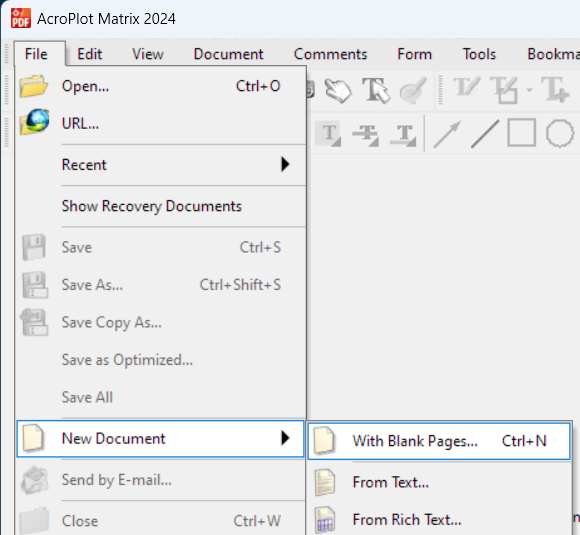
1. Launch AcroPlot Matrix and select File > New Document > With Blank Pages
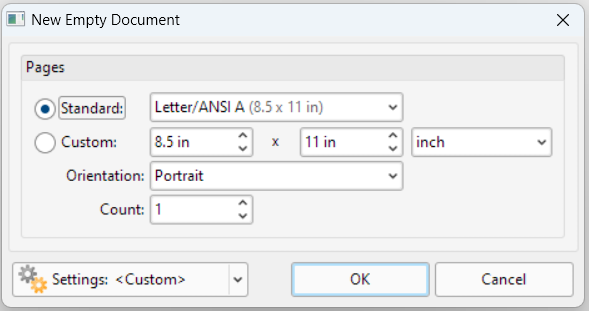
2. Choose Letter/ANSI A and Count: = 1.
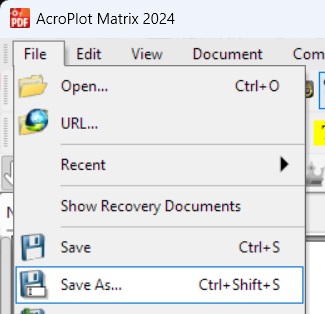
3. Now that a blank page/canvas is created in AcroPlot Matrix select File > Save As to save the document before creating any work. The filename and location don’t matter since this will only be the source file for creating/importing stamp artwork into the AcroPlot Matrix Stamp Palette later.
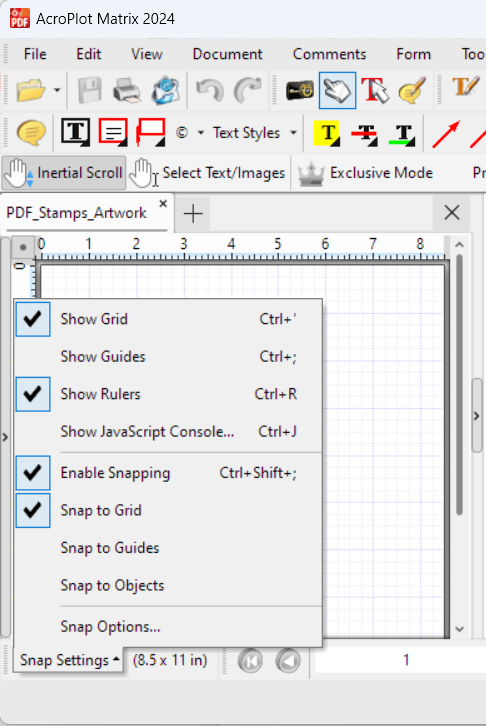
4. Setting up the AcroPlot Matrix workspace to Show Grid, Show Rulers, Enable Snapping, and Snap to Grid can be helpful for drawing and text layout when designing stamps. Note the keyboard shortcuts to toggle these settings on/off.
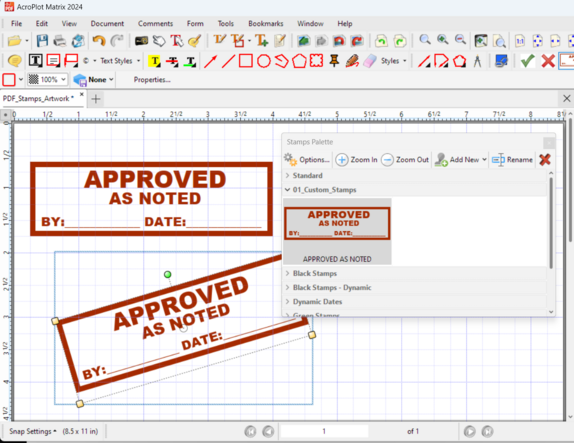
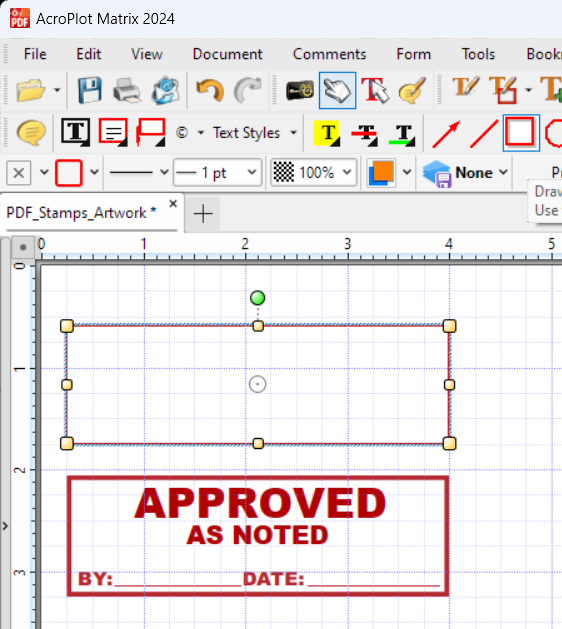
5. Select the Rectangle tool and draw the stamp rectangle. Sometimes, it is easier to create a new stamp by adding one from the preinstalled stamps library included with AcroPlot Matrix as a reference for size, linewidth(s), text styles, etc.
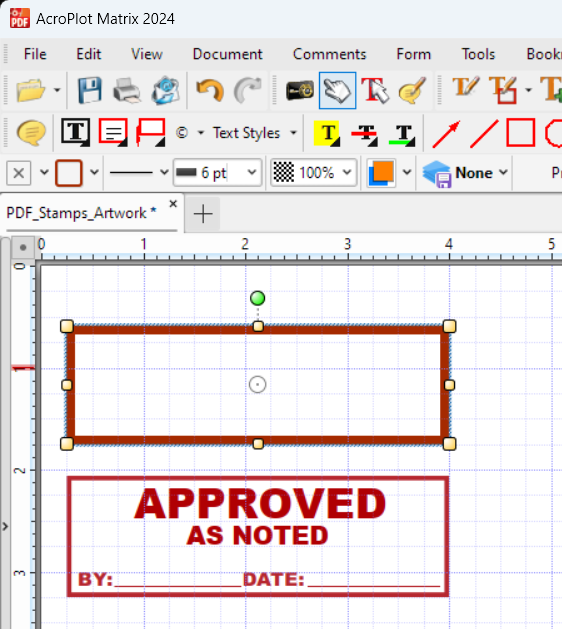
6. While selecting the newly drawn rectangle, update the color and line thickness. If the stamp needs to be transparent, then the fill color for the rectangle is set to none. Select the save icon as work progresses.
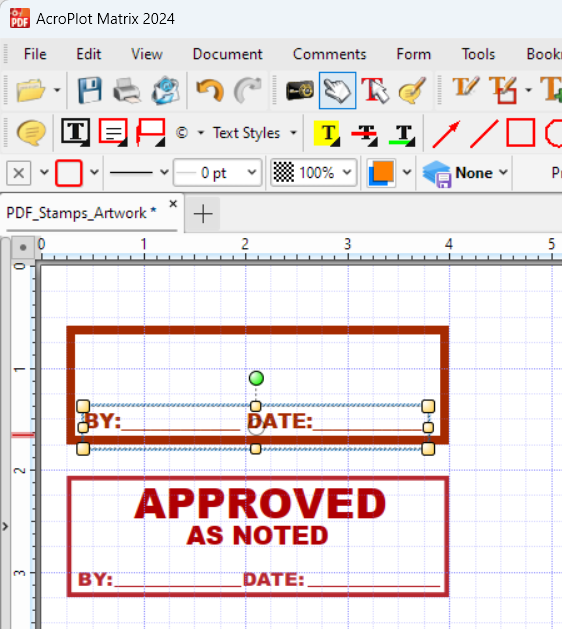
7. Select the “Add a text box annotation” to create the stamp text. Set the outline to linewidth = 0, fill to none, and color to match the outer stamp border.
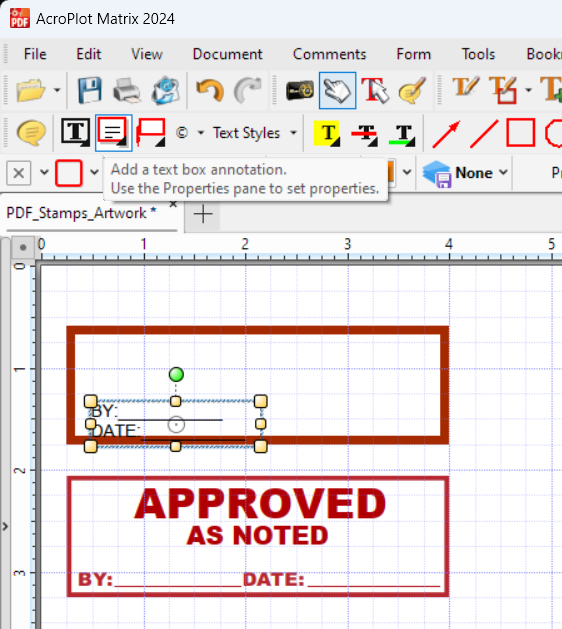
8. Double-click within the text box annotation to select all the text so the color, font, and size can be updated. Resizing the box for the desired stamp design may also be necessary. Using the arrow keys to adjust the text position is also helpful.
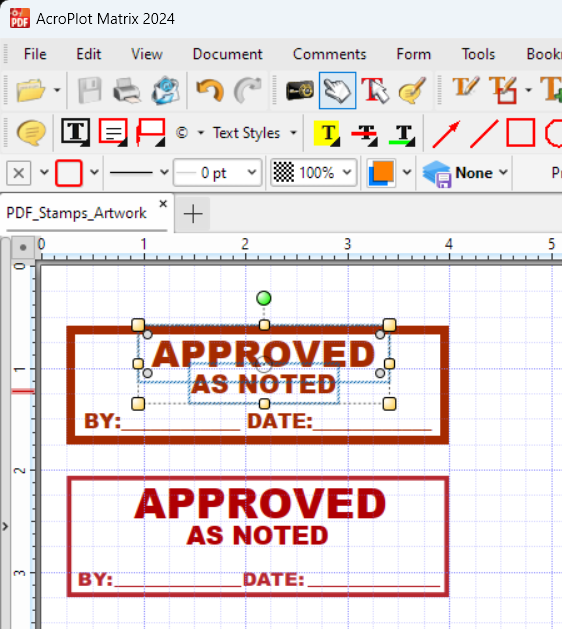
9. Add the remaining text needed to complete the stamp design.
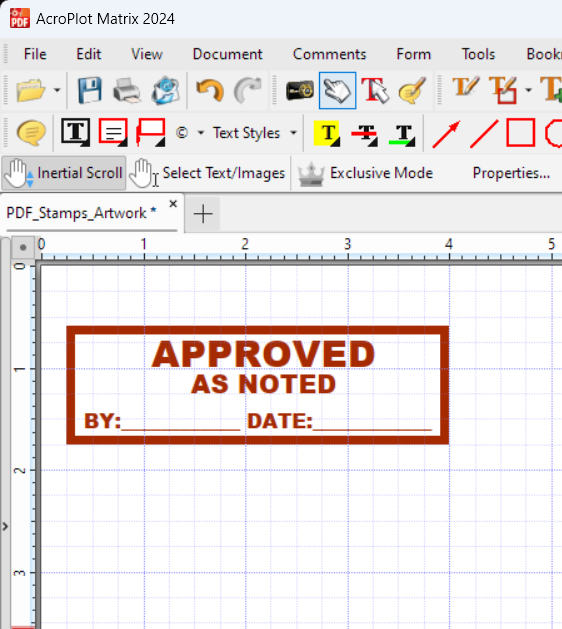
10. Remove the sample stamp added to the document as a reference guide and save the file. It's important that the document has only one stamp per page.
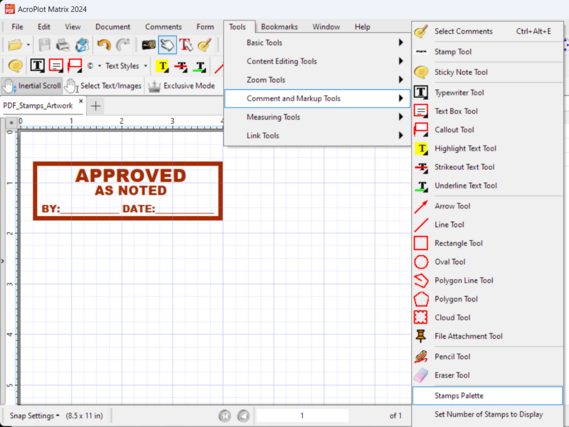
11. Select Tools > Commenting and Markup Tools > Stamps Palette
12. On the Stamps Palette, select Add New Stamp from File…
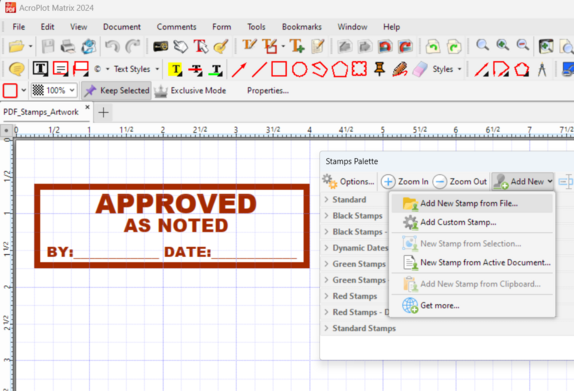
13. Browse and select your stamp artwork source file created with AcroPlot Matrix and complete the form to name the stamp and/or create a new collection if needed.

14. Now the stamp is active and available in AcroPlot Matrix!