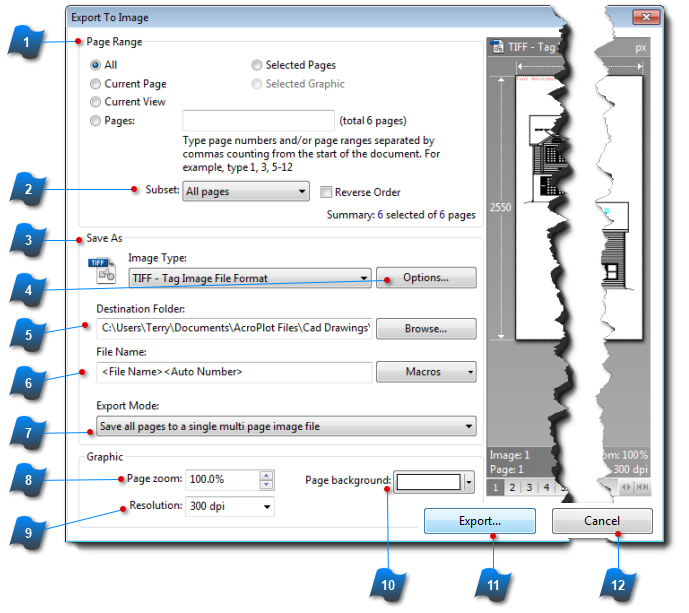
Individual pages or complete files can be exported as many types of images by using the Export To Image command.
 Pages Range
Select which Pages or Views to export.
The Selected Pages option will be available if more than
one page is selected in the Pages Pane.
|
|
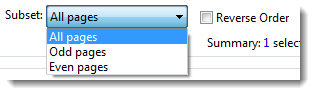
 Subset
Use this dropdown to select only the Odd or Even pages for export.
Check the Reverse Order box if you wish to export the files in descending order.
This may effect the file names depending on your Macro settings for the File Name.
|
|
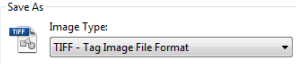
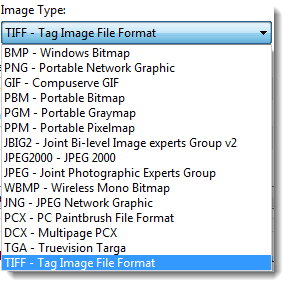
 Save As
Save the image as any of the types listed in the dropdown list.
|
|
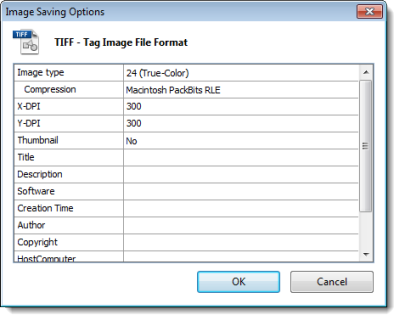
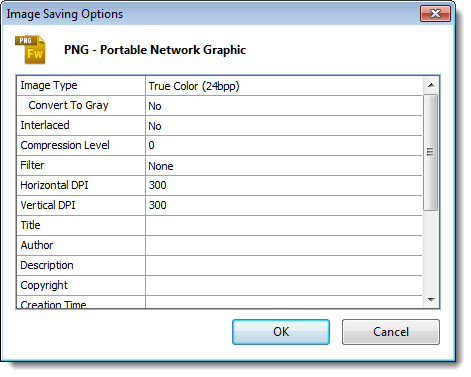
 Options
Several image properties are available for customization of the saved file.
The properties may be different depending on the Image Type.
|
|
 Destination Folder
Click the Browse button to locate and set the folder where
the exported file will be saved.
|
|
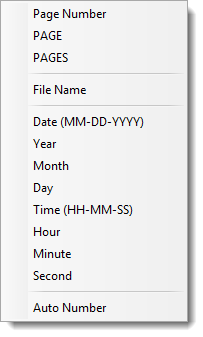
 File Name
The filename may be typed into this box or you may use the
Macros to set procedures to automatically name the exported file.
Multiple macros may be used in combination.
|
|
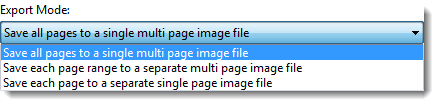
 Export Mode
Select an option from this dropdown list to save multiple images
to separate files or save them all in a single file.
|
|
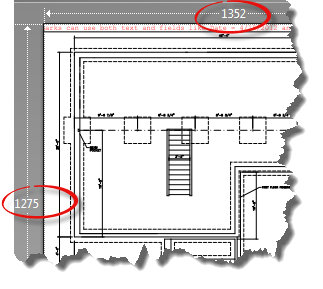
 Page Zoom
Use this area to set the size of the exported file.
The dimensions (in pixels) of the image will change in the
preview window as you edit the Zoom factor number.
|
|
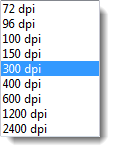
 Resolution
Use this dropdown list to change the resolution
of the exported image.
|
|
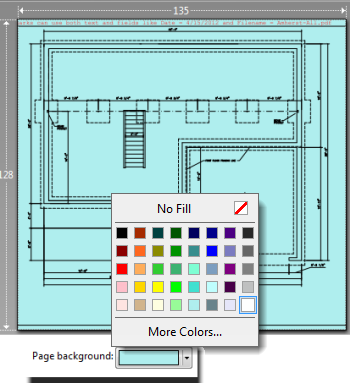
 Page Background
Use this color selector to change the background color of the exported image.
|
|
 Export
Click the Export button to finalize and save the image to the selected folder.
|
|
 Cancel
Click the Cancel button to abort the image export.
|
|